How to Host a Discord Music Bot for Free
Today, I’ll show you how to Host a Discord Music Bot for Free. Its 100% Free, requires minimal coding experience and doesn’t take long.
1. Hosting
The easiest way is to use Repl.it, because its simple and completely free. If you want you could use Heroku or Glitch.
Create Account on repl.it
The easiest way is to use a Social Media Login. Github, Google or Facebook. I will use Google
Press Enter on the first one to keep the current one or edit it as you like
Press “yes” if the email address is the one you want to use
The other things don’t matter. Select what I use or whatever you want
2. Create Discord Bot
You will need a TOKEN from Discord to set up the Bot
Go to the Discord Developer Portal
Click in the Right Corner on “New Application”
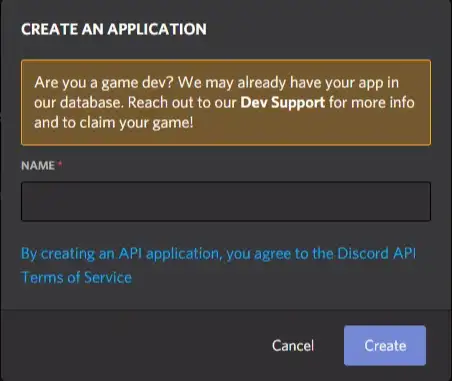
Now Enter a Name for the Bot
IMPORTANT! This is the Name everybody will see on the Server. Choose something like yournameBot. I named mine “berndMusicBot”
Click on “Create”.
Inside “OAuth2” below Client ID click on “Copy” and write it down somewhere. You’ll need it for later
Now click on “Bot” on the left side and click “Add Bot” and confirm with “Yes, do it!”
To get the TOKEN click on “Click to Reveal Token”
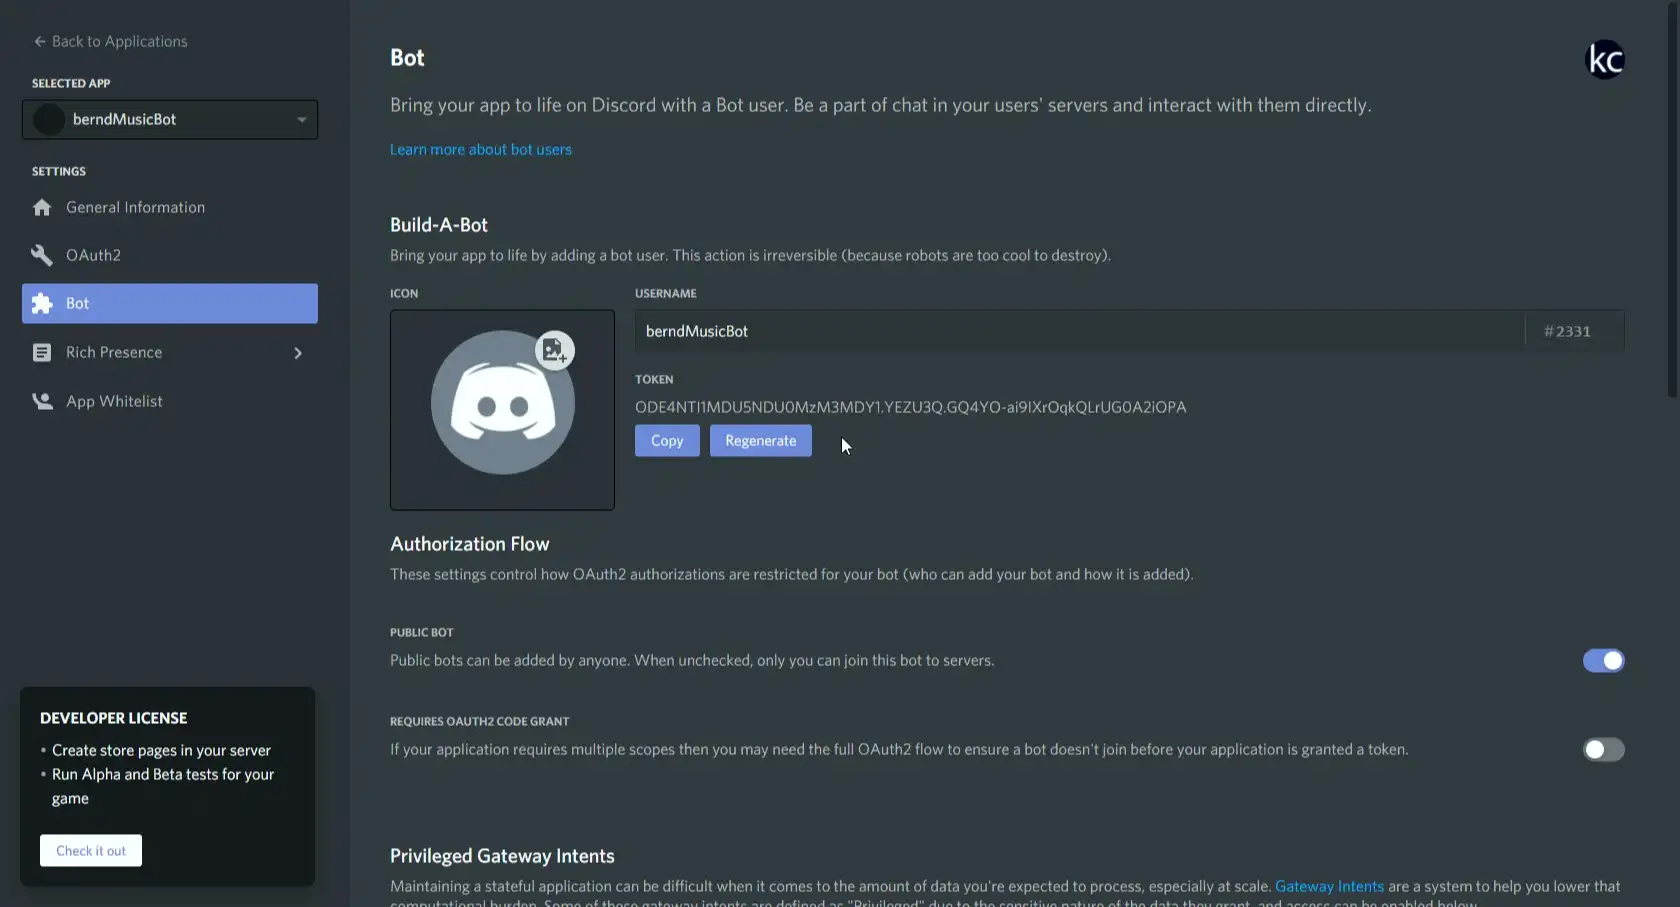
Click on “Copy” and write it down somewhere safe. Alternatively you could leave to Tab open. You’ll need it for later
IMPORTANT! This is the Token where if somebody has it can control your bot completely. So dont share it
4. Configure Music Bot
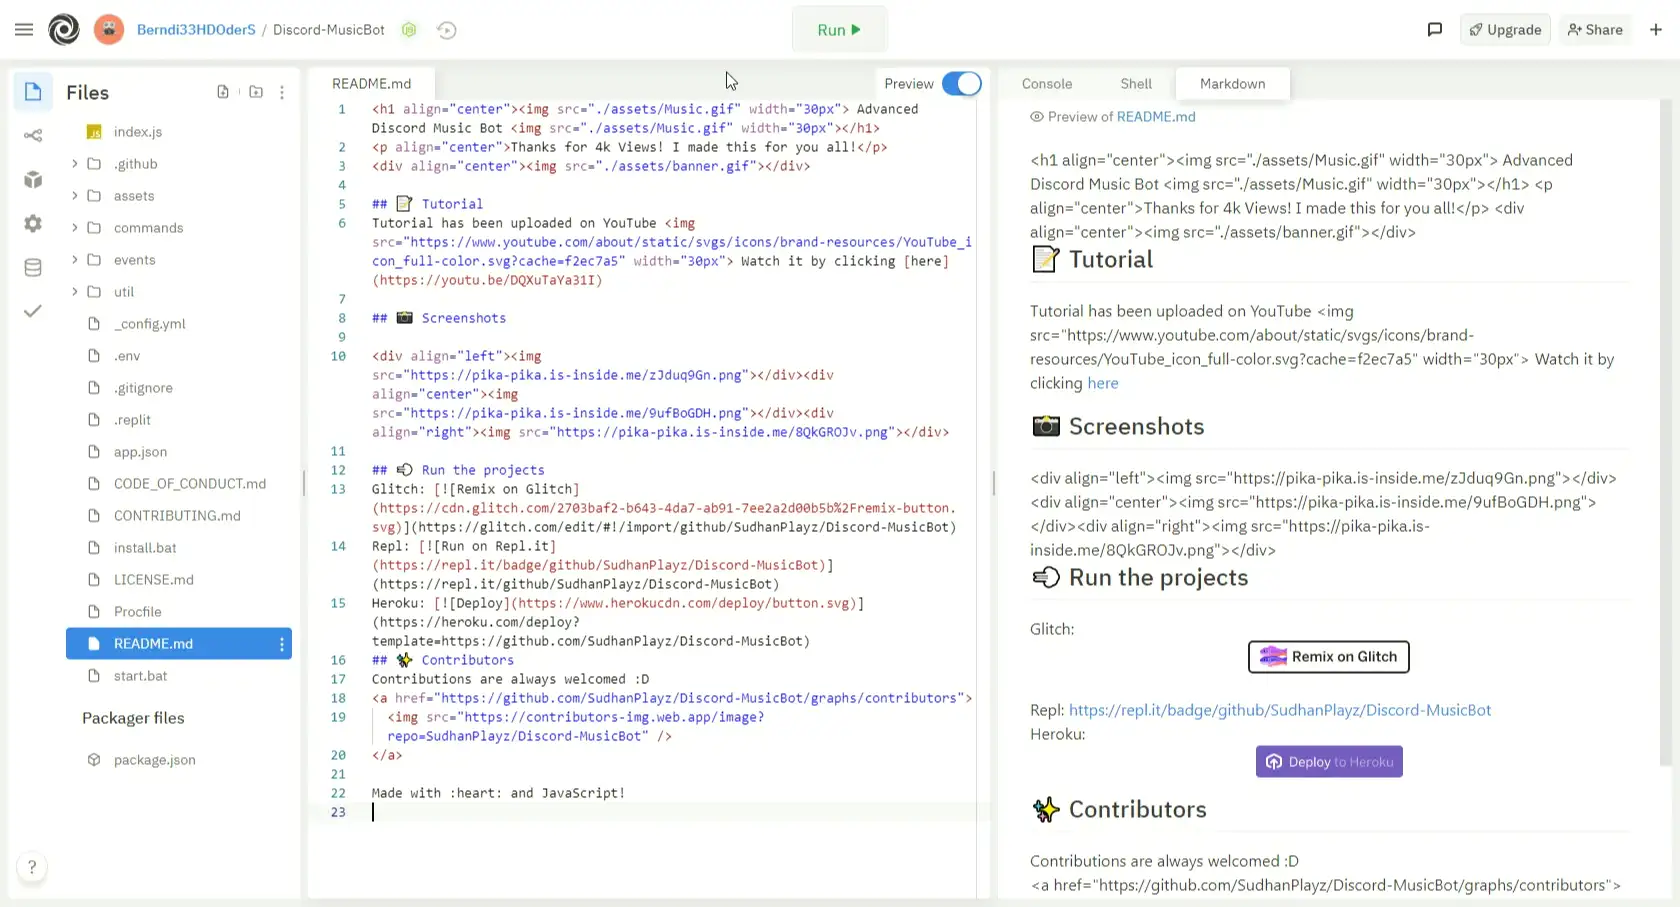
The best Music Bot which you can easily host is kaaaxcreators/Discord-MusicBot
After clicking on the Button, the Github Repo will be cloned to Repl.it. After a while you should see something like this:
Create Secrets

Scroll down until you see a button “Open raw editor” and click it
Copy and Insert the Following Code
1 | { |
TOKEN is the Discord Bot Token from Step 2Prefix must always be put before the command. If Prefix is = then you get help with =helpPRESENCE is the text underneath your bot name

1 | { |
This might take a while for the first time, because it needs to download and install many packages
When it is done you should see “[API] Logged in as your bot name“
Leave a Comment if it doesn’t work
5. Add Bot to Server
I assume that you have a Discord Server
Copy the URL and insert it into a new TAB. Replace %CLIENTID% with your Bot ID from earlier
https://discord.com/oauth2/authorize?client_id=%CLIENTID%&permissions=2205280320&scope=applications.commands%20bot
In my case it is:
https://discord.com/oauth2/authorize?client_id=843868615777583144&permissions=2205280320&scope=applications.commands%20bot
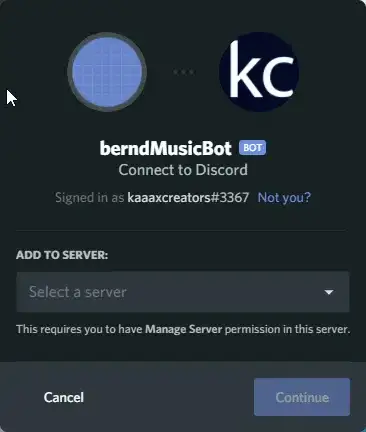
Select Server in Dropdown and Click “Continue”
Scroll down and Click “Authorize”
Pass the Captcha and you are done with Configuration
Go into the Discord Server and type yourprefixhelp
Now you will see all commands and how to use theme
To play a song join a Voice Channel and type yourprefixplay search request
Example: =play rick astly never gonna
If you don’t want to hear any more, simply type yourprefixleave and your bot will leave the Voice Channel
6. Stay Online 24/7
On the right you’ll see something like this
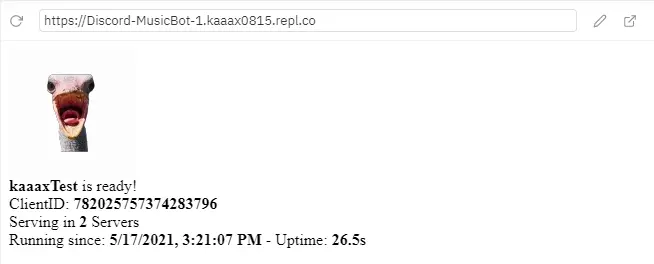
Copy the URL you’ll need it for later
Repls sleeps usually after 30 minutes
To keep the awake we will use something called cronjobs. It will simulate a Person going to the URL so the Bot stays online forever
For this we will create an account on cron-job.org
Enter the Fields, Only Password and Email matters.
If you want to use a Temp-Mail you can use my Temp-Mail Service
Activate your Account through the URL in the Mail you received
Now Press log in
Enter Email and Password from the Registration
Click on “Cronjobs“ and click on “Create cronjob” on the right
Title: <anything>
URL: <url from repl.it> my case: https://Discord-MusicBot-1.kaaax0815.repl.co
Leave everything else as Default
Scroll down and click on “Create cronjob”
Now every 15 Minutes your Repl receives a request and stays awake
Optional: Change Avatar
If you want a different Avatar then the default
Go to the Discord Developer Portal
Click on your Bot
Click on “Bot” on the right
Under “Icon” click the Image, now you can choose from any Image on your PC
Now my Bot has a different avatar

Extra
A Step by Step guided Website is available here